
Ball Inflation Station for Schools
How to set up a simple ball inflation station for school gyms, athletic departments, clubs, and camps.

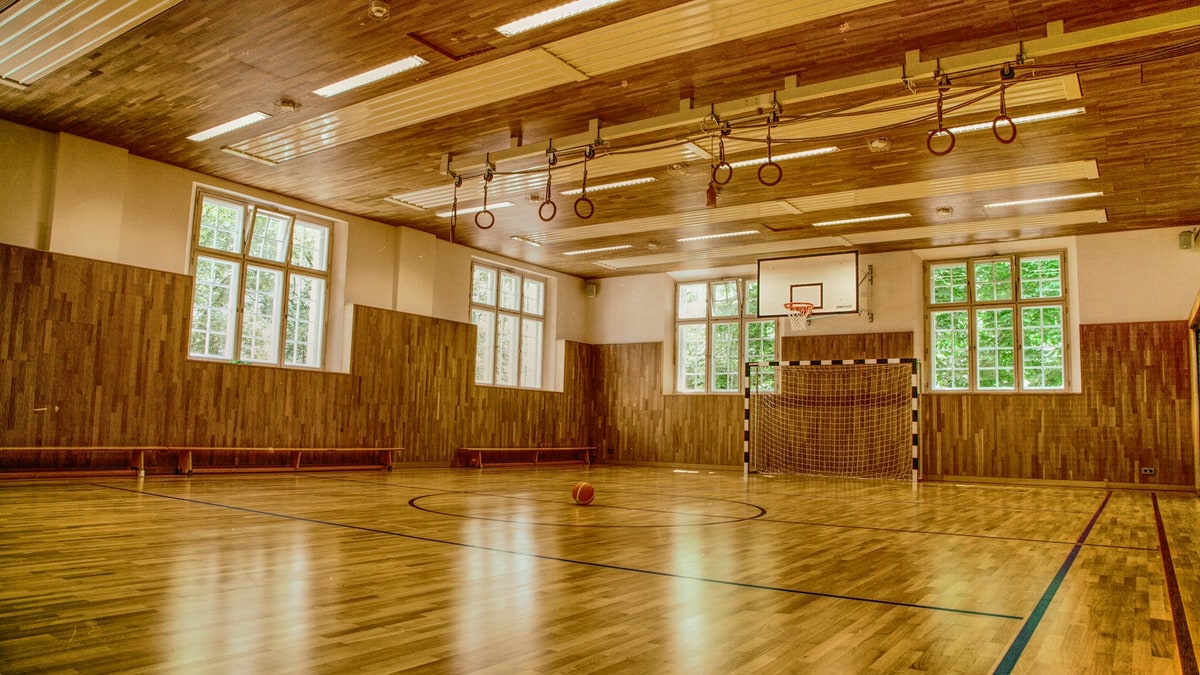
A ball inflation station sounds bigger than it needs to be. For most schools, it is a shelf, a sign, a charger, a pump, spare needles, and a clear ready area.
The value is not the station itself. The value is that everyone knows where ball pressure gets handled.
Jump to a section
What to include
Keep the pump visible and charged.
List targets by sport and ball type.
Create one place for checked balls.
Why schools need this
Schools often share equipment across teams, classes, and seasons. A station prevents the pump from becoming somebody's private tool.
Why TorrX belongs at the station
TorrX is small enough to live at the station and smart enough to make the target pressure routine easy for different people to repeat.
A deeper setup routine
Equipment rooms need systems because the work is shared, rushed, and easy to interrupt. A pump alone is not the system.
Give the pump a home. Put pressure targets where people check balls. Store needles and the charging cable where they cannot disappear. Use carts, racks, or tape marks to separate checked balls from unchecked balls. The fewer memory-based steps in the routine, the better.
For a step-by-step product view, keep the TorrX demo video nearby. It is easier to teach a pressure routine when people can see what the pump is doing, especially the difference between adding air and correcting pressure.
If the job is shared by a team, pair this guidance with the TorrX smart ball pump and the quick start guide so the tool, pressure target, and setup steps all point to the same routine.
Equipment-room breakdowns to prevent
Most ball-prep mistakes are small, which is why they keep happening. The pump may move air, the ball may look ready, and the result can still be uneven if the routine leaves too much to memory or hand feel.
Hand feel changes by person, ball cover, temperature, and sport. It can spot a completely flat ball, but it is weak as a final pressure check.
A ball that is too firm still needs attention. Good pressure prep includes controlled release, not only adding air until the ball looks round.
Most pump problems start with the smallest part. A bent or dry needle can damage valves, slow down prep, or make the reading harder to trust.
Target PSI or BAR for each sport and ball type.
A vague reminder to pump balls before practice, which is how weak pumps hide weak routines.
Current pressure, target pressure, valve condition, and whether the ball starts high or low.
Only whether the ball feels soft in your hands.
Wet the needle, insert straight, let the pump correct, then move the ball to the ready pile.
Pump until it seems close and hope the next person agrees.
Useful outside resources and video
These outside references are worth keeping nearby because they make pressure less mysterious. Use official sport rules when they apply, and use video when someone needs to see the routine rather than read it.
A short visual reference for how target pressure, inflate, and deflate work in a real ball-prep routine.
GeekWire on TorrX with MLS team useA team-prep article that pairs well with equipment-room checklists and shared gear routines.
TorrX YouTube channelUseful for product walkthroughs, setup clips, and future demonstrations of the pressure-control workflow.
Author
Hannah Cole
Club soccer coachHannah Cole is a privacy-protected TorrX contributor profile covering field-sport ball pressure, sideline habits, and efficient club equipment routines.